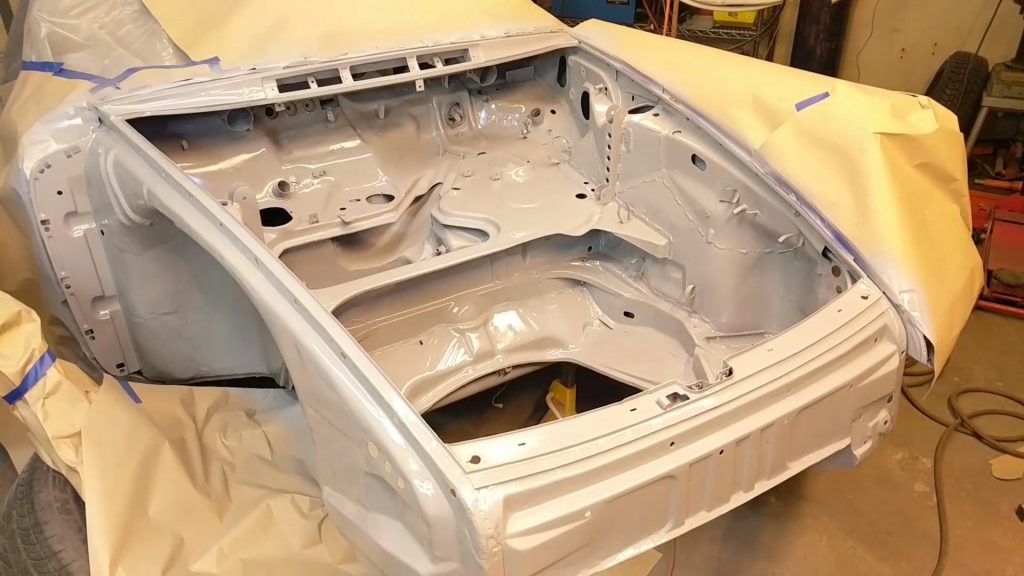
My trunk area gets epoxy primer and detail! Yay! Everything in the same color and tidy is strangely satisfying. The sprayed primer application is relatively easy, however the hard part is all the prep. As they say, “The Devil is in the details” is so true. A few show cars inspired me to clean the trunk area and remove all the factory undercoating. I don’t think the undercoating in the front compartment will provide much sound isolation. Plus I want to show off all those seam welds that I worked so hard to perfect. Here’s a quick list of all the modifications in the trunk area alone: (Clickable Links!)
- Oil Cooler Air Duct
- Weld In Strut Bar Braces
- Weld In Strut Top Plates
- Seam/Stitch Welded Everywhere in the front
- Weld In Strengthening plates and hardware added for through the body Anti-Roll Bar
- Filled holes in dash for smooth painted look
- New Suspension Pan
- Repaired and straightened inner fender area
- Removed Impact Bumper Brackets
- Extended Hood AKA Longhood Backdate Pre-1973
- Treated all the internal hidden cavities with epoxy primer
- Removed all Undercoating

Looking Good…
Whew! No wonder I’m so excited to have this trunk area looking great. To be honest, I almost passed buying this car because of the crinkled metal up front. Now, all the accident evidence is gone! So excited….
All the above work disturbed much of the original seam sealer and paint. For this reason, I did my best to rust proof all these welded areas the best I could. I injected and mopped epoxy primer everywhere I could to protect the backside of the seam welded areas. In the event I missed any spots I will come back and spray cavity wax in these areas too. I want to wait until the car is fully painted because wax can cause fish-eyes in the top coat.
Thanks for checking out my progress! Next up is rear half roll cage. Click here for that one.