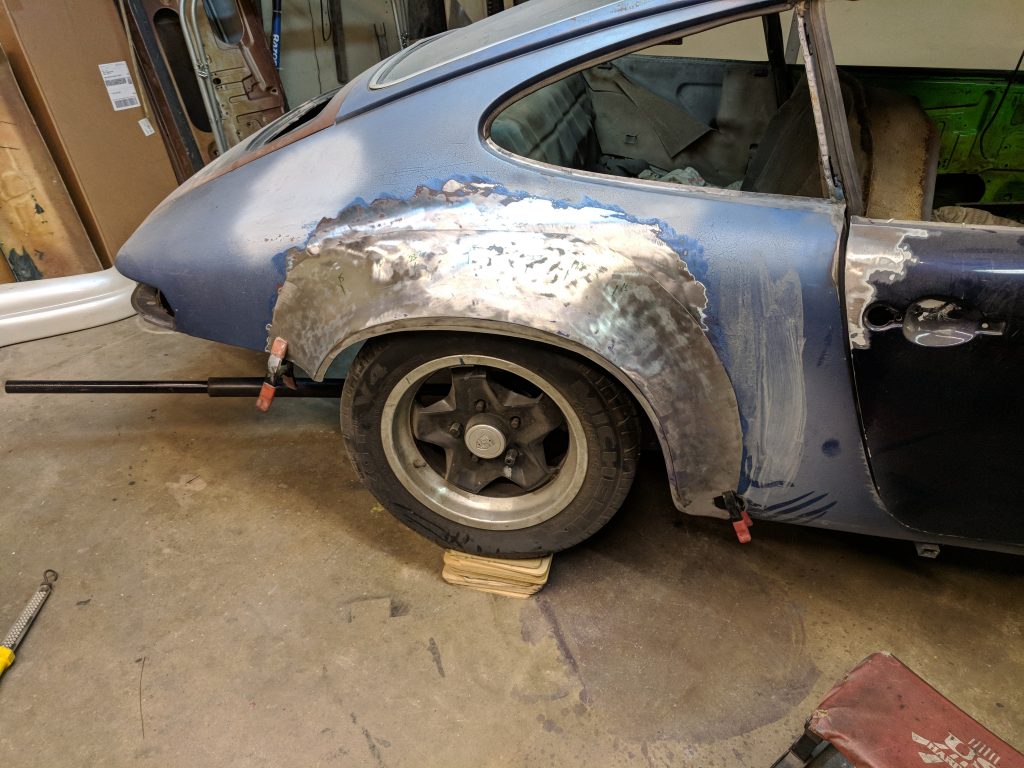
Porsche’s 1973 Carrera RS is arguably one of the best road racing cars Porsche made. For this reason it is often imitated. I will show you how to convert the common SC flare to the expensive RS fender flare.
Beside the aggressive front bumper with center mounted oil cooler and rear duck tail another subtle RS feature is the wider rear fender flare.


Porsche decided that a wider rear tire was a good idea to handle the increased power of the Carrera RS. (210 HP in 1973). I think this is a great idea as well to balance the heavy rear weight bias of all Porsche 911’s.
The RS flare allows a 1″ wider than stock tire at minimum. The original Carrera RS in touring form sported a 7″ wide wheel in the rear and 6″ in the front. With a little bit of careful planning a 8″ or sometimes 9″ wheel can be stuffed in there.
The Main Difference in the RS Flare is the Lower Arch Profile
One cool thing about the RS flare is it has a wider arch at about the 1 O’clock position. This results in a lower appearance to the rear of the car and makes the rear look a little beefier. This I like!
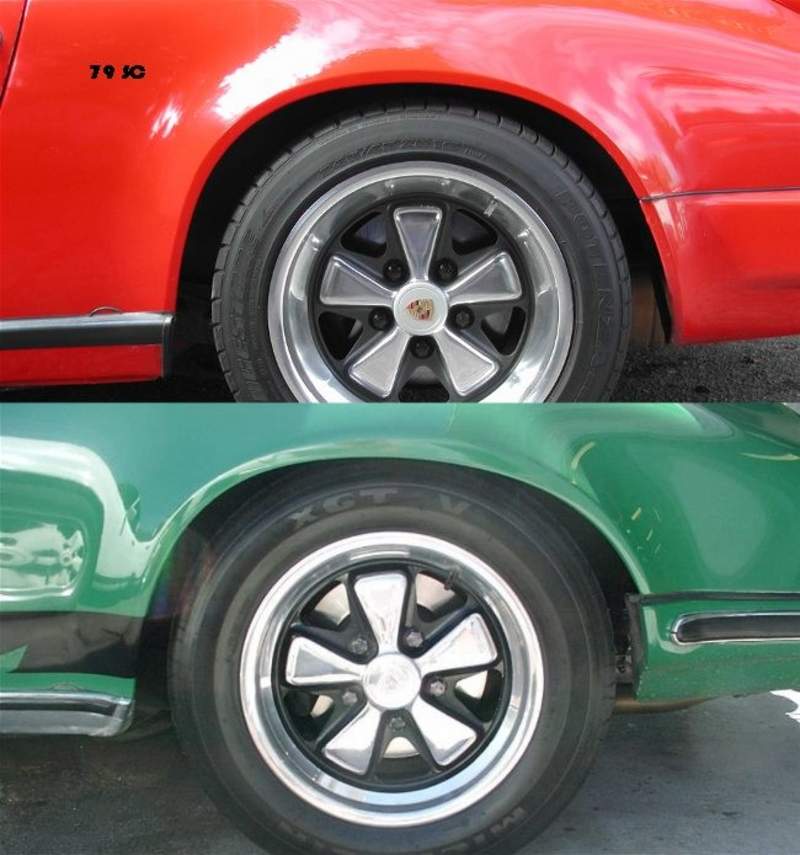
I’m attracted to the look and the performance of a wider rear tire on my Porsche 911 Hotrod since I plan to run a much stronger engine than what came with my car in 1974. So I purchased stock 911 SC flares and modified them to look the Carrera RS flares. One difficulty is I don’t have a real Carrera RS to measure. Those cars are upwards of $600k and even if I found one in original condition, I don’t think the owner is going to want me putting calipers on its body to get exact measurements.

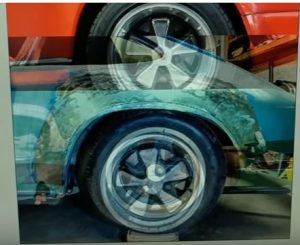
The next best thing for me was to turn to Pelican Parts’ Forum and lean on the research and pictures that others have graciously posted. With the help of photoshop and clever camera placement I was able to estimate the shape of the real carrera RS flare. While the difference is subtle I really like the vintage look of the RS shape on my longhood conversion project.
Here’s a shot of me superimposing the Carrera RS image on top of my car.
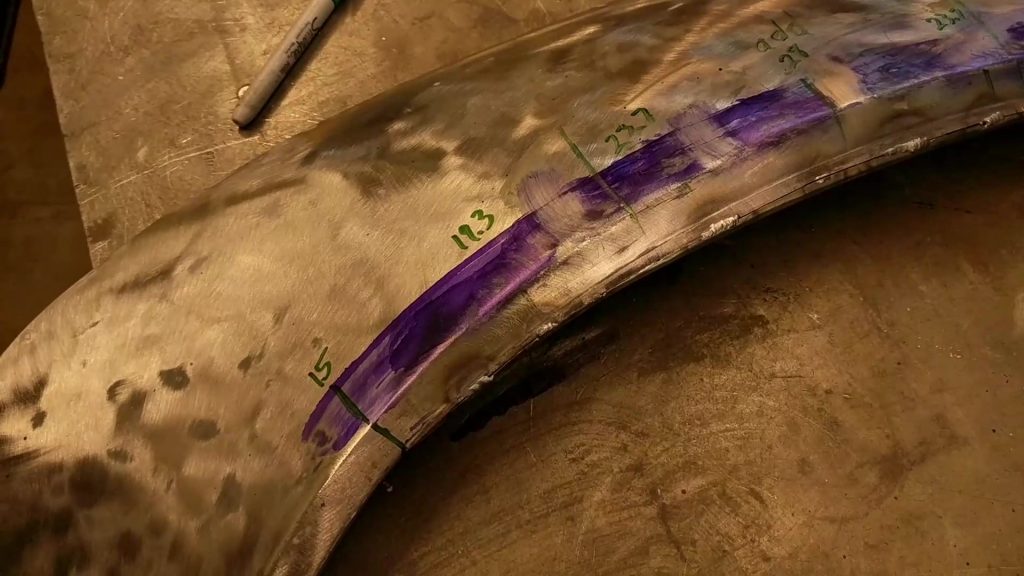
Photoshop’s measuring tools combined with published RS lip heights of 28 mm allowed me to estimate the lip height of the RS profile over the entire wheel arch. My research agreed with everyone else that the RS lip hangs down closer to the tire about 8-9 mm lower than the SC flare.
I started by marking the RS flare dimensions on the SC flare. Then I un-formed the SC lip downward using a hammer and dolly. Next I created a curved lip piece to splice on to the SC lip to meet the measured RS flare heights. This will make more sense after watching the videos below, but here is a picture of the conversion partially welded on.
How To Weld My Flare On Straight – SC to RS Flare Install
Once the cheap $50 SC flare was converted to an expensive RS look alike the next task was to weld it on to my car in the right place. Rather than rely on the position of the wheel as a reference I tried to position the new flare relative to fix points on the car such as the rear quarter window shelf and templates from another SC. I took templates from a friends car just above the torsion hole cover, at the rear bumper interface and at the top of the arch. I tack welded a bar that extended through the quarter windows and at the highest point of the factory wheel arches. Then I used a plumb bob to extend some vertical lines directly down from there. The chassis was also verified to be sitting level before the plumb bobs were used. I also measured the distance between the inner fender and the wheel arch to verify both sides are the same.


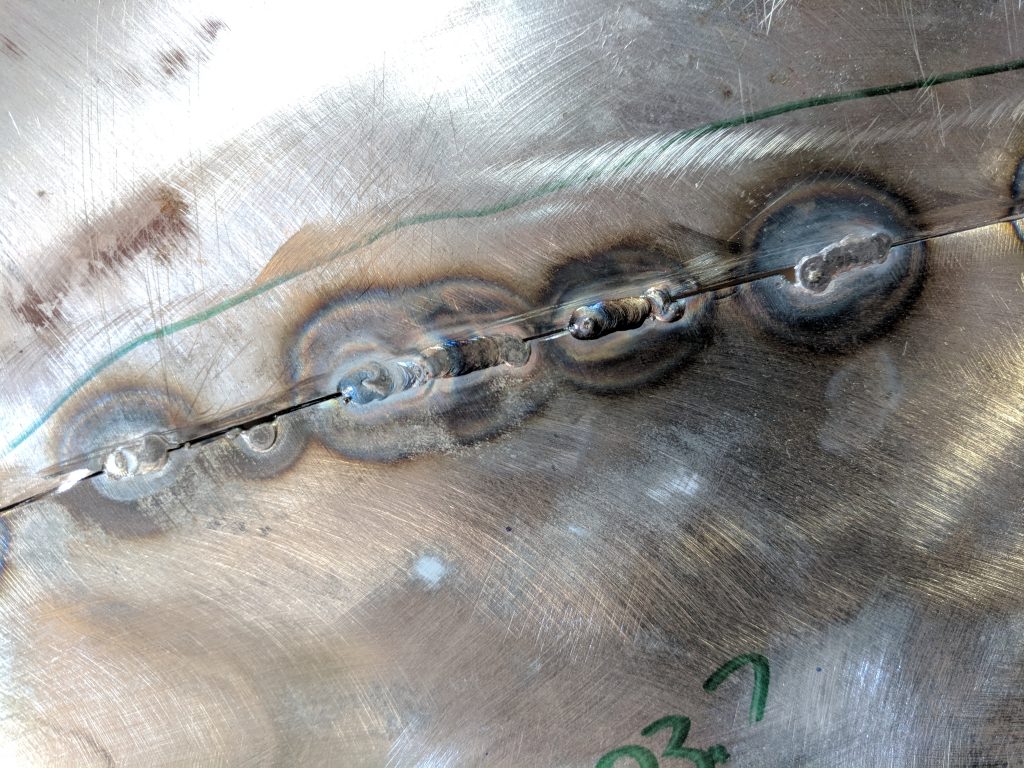
After triple checking all the placements it was time to make a rough cut and then sneak up on the final trim. Tacks every 6-8 inches held the flare in place and everything seemed to line up really well.
TIG welding is best for this long weld seem, but that also means that the trim needs be perfect to that the weld gap is zero or as small as possible. As you can see in the video I did a good job with the gap except for a few inches at the very top of the arch. So much of the time is chewed up getting the fender in the right position and adjusting all the tacks until all the templates and measurements are within spec!
Click Here To See More of My Porsche 911 Restoration Project
This weeks video shows the actual arc shots so you can see exactly what I see under the welding helmet. I hope this video is useful to those who aren’t familiar with welding or are just starting out.
Thanks for watching, here are the videos:
