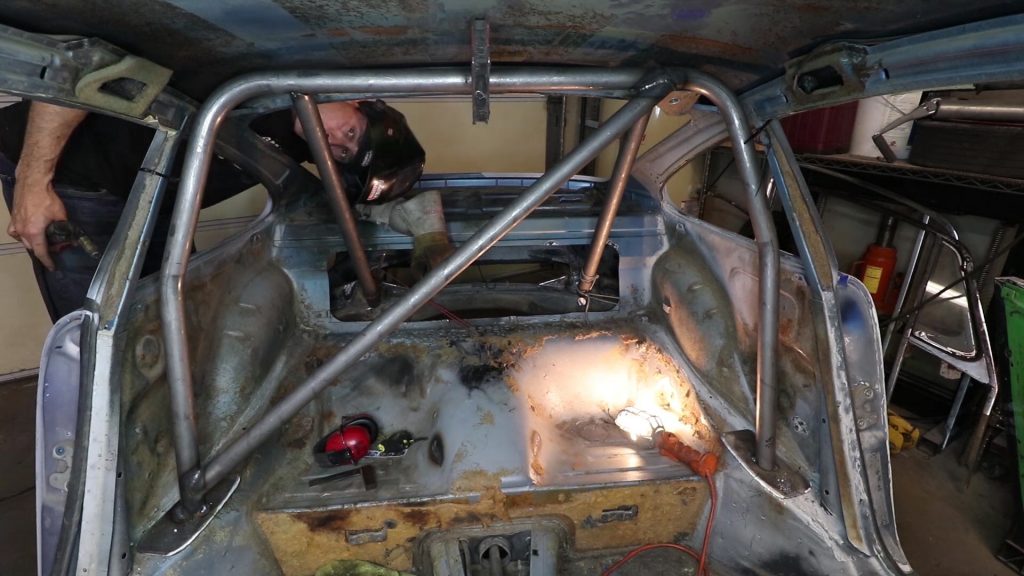
Some say a roll bar is only for bad drivers. I’m the first to admit that I’m a better engineer than a race car driver! In addition to safety this Porsche 911 roll bar also strengthens the chassis. Especially the way that I intend to tie it into the suspension mounts. There are roll bar kits available from a few of the major Porsche vendor catalogs, but that just isn’t how I roll, ha ha get it?
FIA, SCCA, NASA, PCA compliant?
All the above race organizations provide some good tips on how to construct a safe roll cage. With those standards in mind, I did my best to incorporate as many of the best practices I could without being a full blown race car. For instance, my car will only have a half cage with the possibility of some removable door bars. I chose 1.5″ x .095″ tubing given the intended weight of my car to be around 2100lbs. I believe FIA recommends 2″ bars, but that encompasses all weight classes, so I went with the smaller tubing for my car. One disadvantage of going overboard with these bars is considerable weight can pile up if not strategically placed.
Some of the race organizations prevent the roll cage bars from tieing into the suspension points especially in stock or super stock classes. In my case, I’m not concerned with complying to a standard…instead i care about building the best car possible. The truth is I won’t be competitive in a modified race class, so I might as well just have fun and play around with some cones.
My first time bending tubing – Porsche 911 Roll Bar

This is my first time bending structural DOM (Drawn Over Mandrel) tubing. Luckily, I have access to the JD Squared tubing bender. I must say that the learning curve is kind of steep, but thank goodness for YouTube. I learned that every die and material behaves a little different. This means the onus is on the end user to get it right. For me, this meant doing a test bend and marking where the die starts versus where the bend starts. Once this is known I can place the bends very repeatably.
Please click here for the entire playlist of roll cage videos:
The first video is here below:
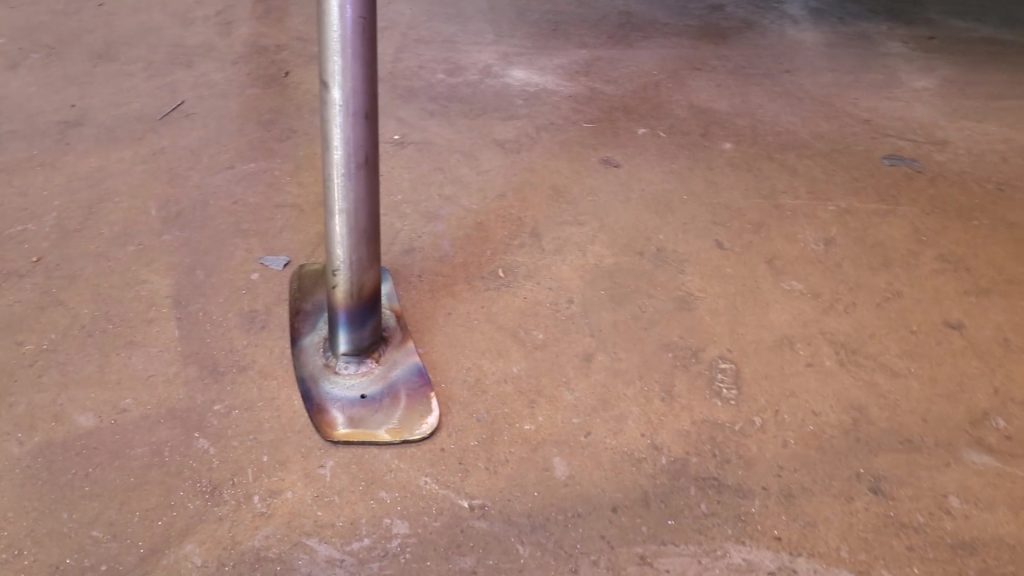
One of my main objectives is to increase the stiffness of the chassis also. With this in mind I cut a hole in the firewall to connect the backstays to the rear coilover turrets. This will transfer the bump loads directly to the roll cage and distribute the loads to the attachment points. One major attachment is the baseplates pictured below:

The roll cage will also connect to the B-pillars via a welded plate between the sheet metal and tubing. I’m excited to re-test the torsional rigidity again once I weld the cage in fully! Click here to see the torsional rigidity setup I developed.