A common modification to mid 70’s & 80’s 911s is to backdate the nose to make it appear even older. Why do we want to make the car look older? This post will explain the Porsche 911 backdate process and explain why.
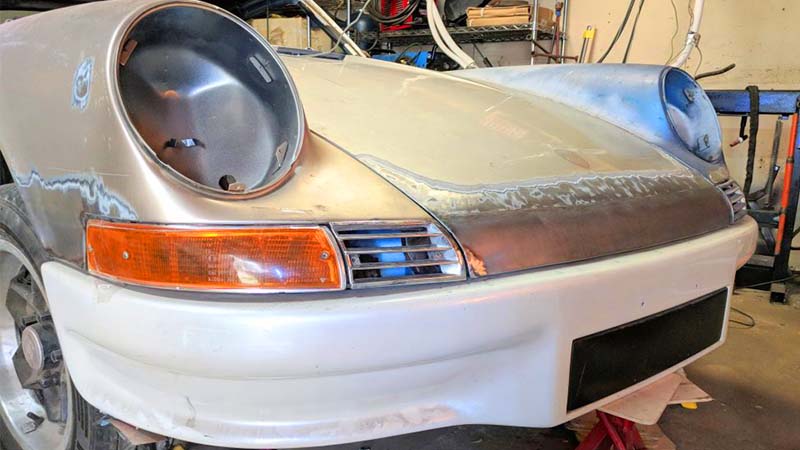
In the image above you can see shiny metal highlighting the metal portion that was added to the hood. If you look carefully, you will also notice extra metal added to the fender between the wheel arch and the turn signal lens.
This process is commonly referred to as the “Porsche 911 Backdate”. Many Porsche enthusiasts will say, “Oh, it’s another backdate”, Or “Ugh, backdated”. Many feel that any modification to a Porsche is blasphemy and devalues the car.
It’s hard to devalue a $4000k project car. Click here to see where my Porsche 911 Restoration started.

The Image above shows the difference in styling from the 1974 & later car to the earlier 911’s from 1965. USA safety regulations required that every car sold in the USA had to meet minimum impact tests, so Porsche literally added impact shocks and bellows on the side where the bumper meets the body. Decide for yourself which one looks best?
DIY Porsche 911 Backdate Kit
My approach was to graft metal on to the existing 1974 and later short hood body parts as opposed to sourcing pre-1973 parts. Some manufactures offer fiberglass body parts for this conversion as well. I opted for the DIY method for the lowest possible cash outlay. Never mind the hours that went into this conversion, ha ha! This means I handmade my own steel body extension kit.
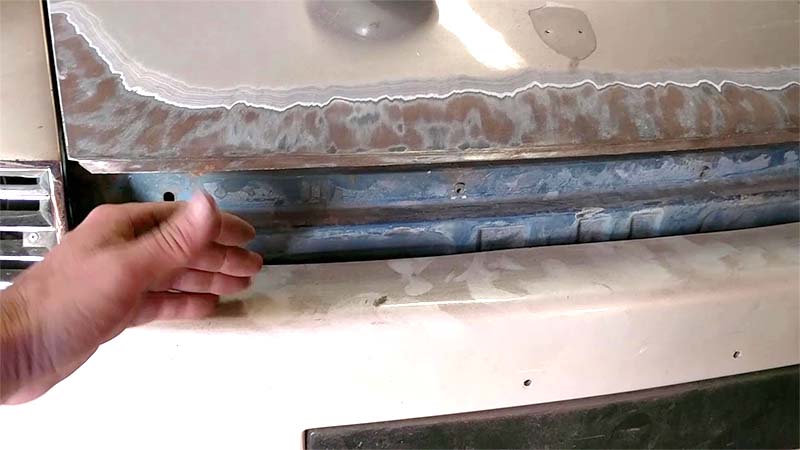
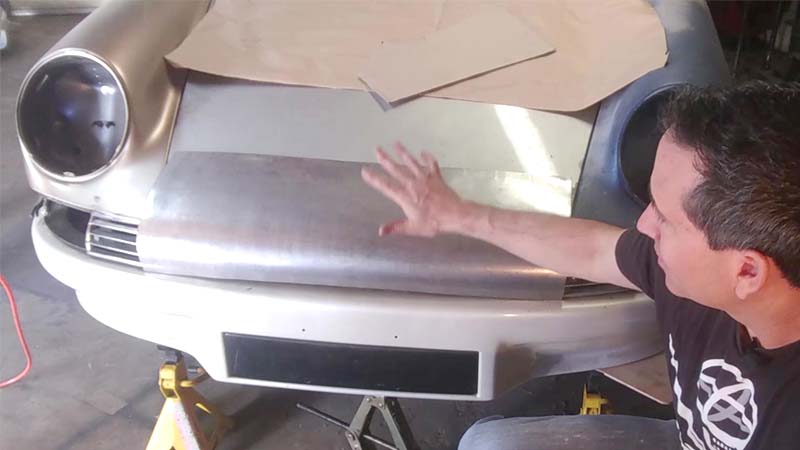
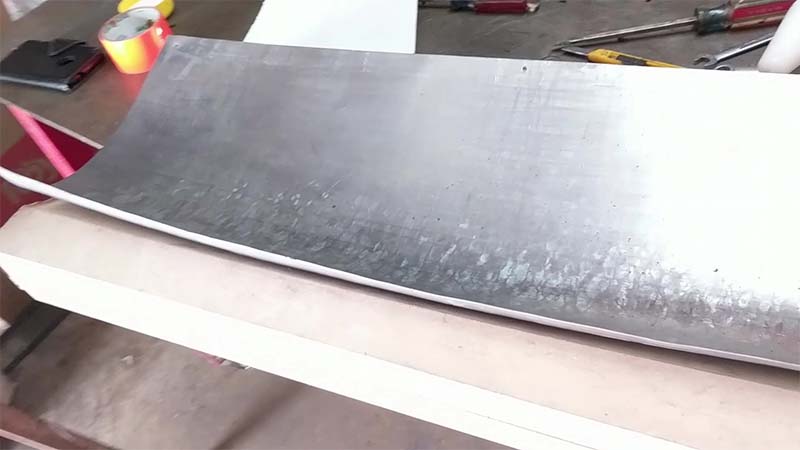
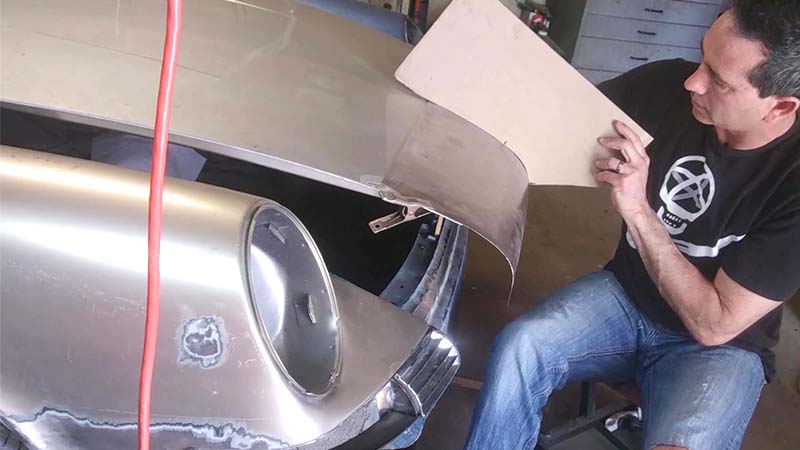
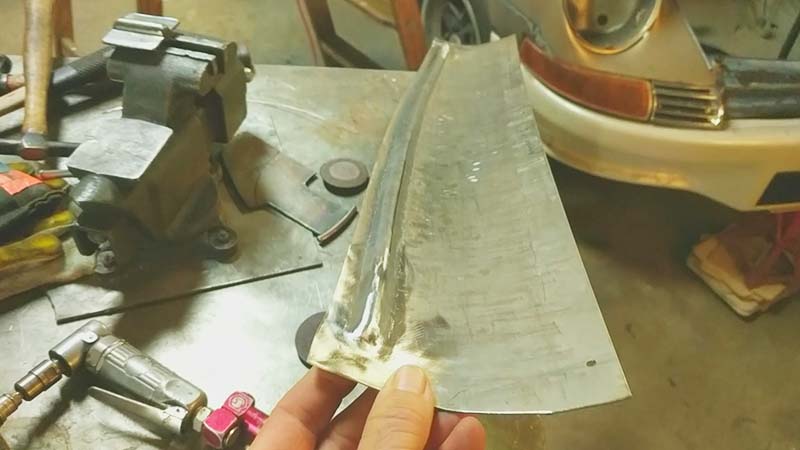
In the photos above you can see the large gap to fill and the hand formed sheetmetal extension piece I made.
Several templates taken from a genuine long-hood car guide me to create the shape I need for the extension piece. As you will soon see, this newly formed sheet metal piece fills the gap between the OEM short hood to the new RS fiberglass bumper.
Why not buy a reproduction or original long hood? If money was no object and this conversion had to be done in a tight schedule, then I would buy the correct parts at over $6000 (Hood and fenders). Even original parts would need some rust repair. So my approach was to utilize the parts I already had and extend them for maybe $20 in materials.
Can you do this DIY approach? Of course you can! It does require some metal working skills and equipment however. For example, I used an english wheel, bead roller, TIG welder, and CNC machine?
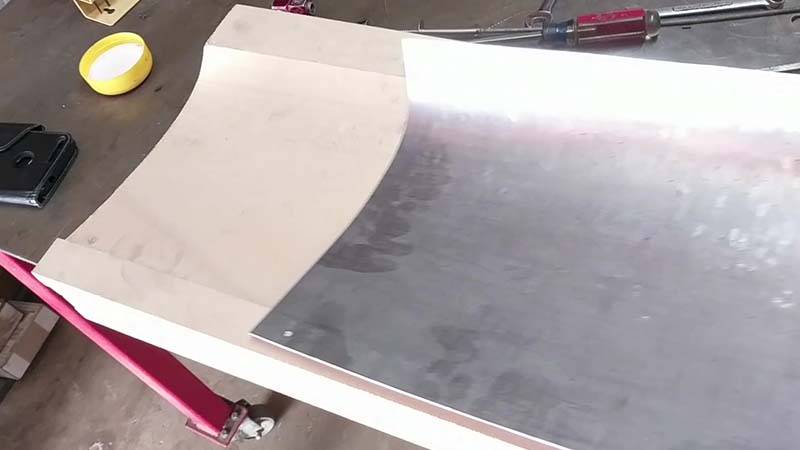
CNC Hammerform Used To Shape Sheetmetal
Although non-conventional, I machined the hammer-form pictured above on a CNC router machine. This allowed me to hammer the rough shape with a Nylon hammer. Flat sheet metal must stretch into a compound shape as the longhood nose is not a simple one dimensional bend. Rather its a complex shape that requires the metal to stretch in some areas and shrink in others. Every try wrapping a piece of paper around a globe without wrinkling? Same concept, but not as severe as the globe analogy.
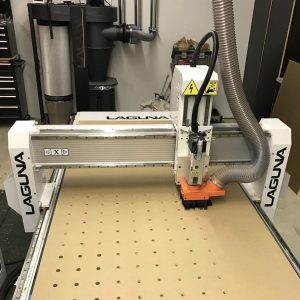
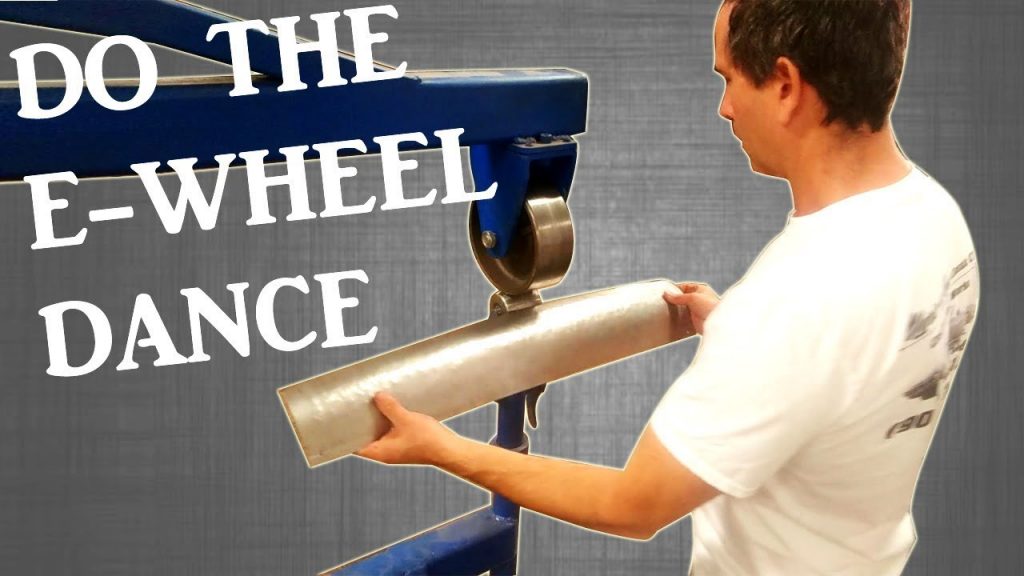
A skilled bodyman could shape this panel with only the English Wheel, however I’m not as practiced as those true craftsmen. In fact, the English Wheel I used isn’t even mine; it belongs to a nearby community workshop.
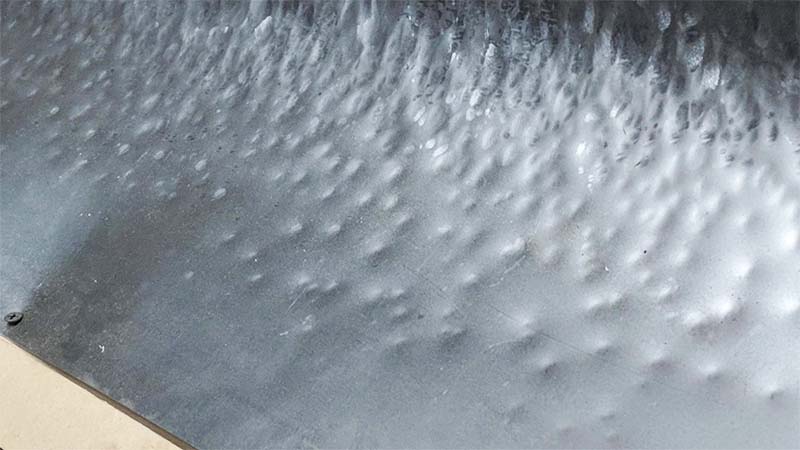
So, I decided to machine the shape into a large block of wood after modelling it with CAD software. (Everyone has different strengths and machining is one of mine!) Unfortunately, I don’t have any video footage of the CNC machining of the large hammerform, but I do have video of the smaller hammerform used to make the fender extensions. Now that the form or mold exists, I hammered the shape of the nose the best I could with a Nylon hammer. That is to say the hammerform didn’t allow me to over shape the panel. Unfortunately this method left me with a bunch of hammer marks. So I set the E-wheel up to gently remove the hammer bumps without changing the desired panel shape too much. Luckily, the first time was a success!
Here’s a picture of me working the english wheel to remove all those hammer bumps. It works great as smoothing device after the panel was shaped with a hammer and mold.
Unfolding The Short Hood Hemmed Flange
The best way to weld the new extension piece is a butt weld. For example overlapped metal looks ugly from the inside and will trap moisture and rust quickly. Originally Porsche hemmed the hood skin around a stronger formed sheet metal frame. Eventually I will extend the inner frame structure of the hood too, but for now I flattened the hem on the leading edge of the hood for two reasons:
- Flattening the hem gives me a nice butt weld edge to weld
- Flattening the hem provides a 1/2″ offset between the outer skin butt weld and the inner skin butt weld to the metal frame. This is stronger and the welds aren’t stacked.
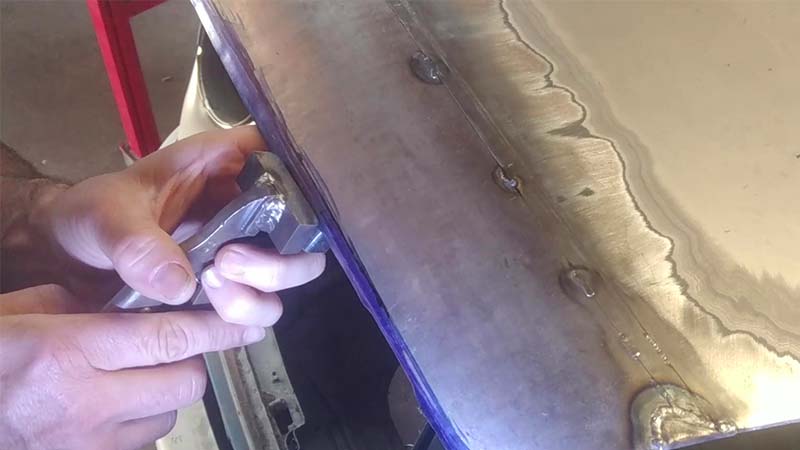
Once the hood extension piece was triple checked with my templates, I trimmed the piece and butt welded the extension to the original skin’s unfolded hem. What is not captured in this post or video below is all the time staring at the car and agonizing on when, how, and what if’s.
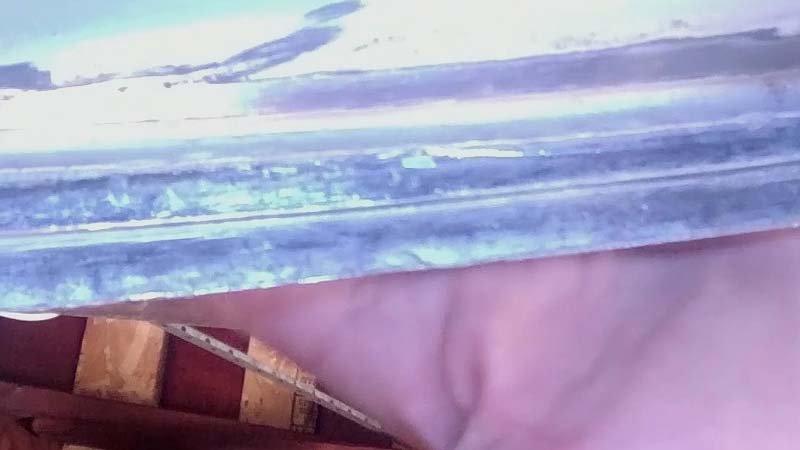
The blue color seen in the above photos is Dykem layout fluid used to transfer the unfolded hem profile shape to the new extension piece.
Measure twice and cut once worked out for me, however you will notice that un-hemmed edge was cut long and is not formed yet. This future hemmed edge will define the leading edge of the hood and gap to the bumper. Important stuff!
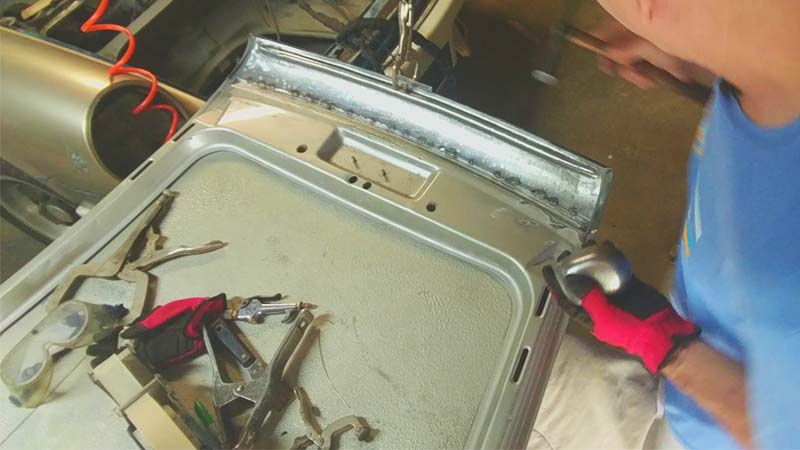
After several trial fits and template checks, I formed the new hem starting with customized vice grips to “tip” the edge over about 90 degrees. This was done in several passes, each time adding 5-10 degrees of bend to the metal within the wide vice grip jaws. The photo above shows the original unfolded hem about 1/2″ above the short TIG welds and the new tipped edge right where the vice grip jaws are.
I didn’t hem the new leading all the way to 180 degrees because the inner structure hasn’t been extended yet. The sides of the hood extension piece will also get a rolled hem too once the inner frame extension is finished.
At only 18 Ga the new sheet metal is not strong enough to leave unsupported, so an inner hood skin was formed as well to continue the hoods structural frame. I decided a stiffening rib is a good idea for extra support when lifting the hood up by the new extension piece. In other words the outer skin is aesthetic while the inner skin/frame is for strength when open or closing the hood.
Hand Made Inner Skin With Rib
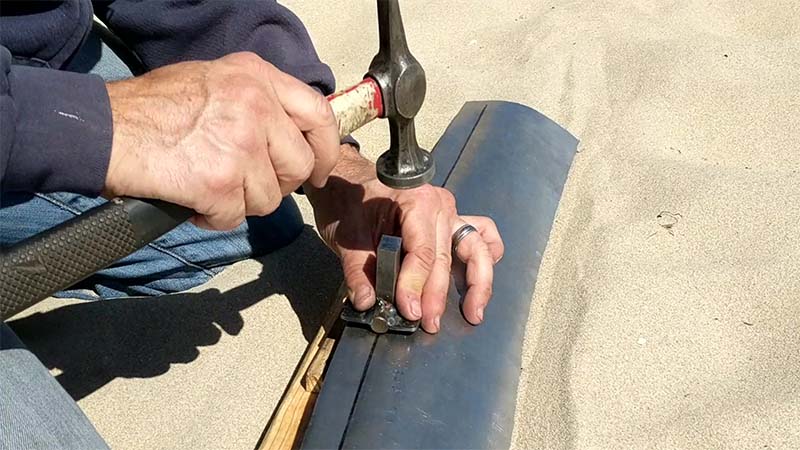
As it turns out, beach sand is a great surface to hammer on when forming a sheet metal rib to strengthen sheet metal. The rib pictured below runs along the inside leading edge of the hood. A three dimension rib provides stiffness to the leading edge of the hood and it also serves as nice grip when lifting the hood. A real BONUS!
As you can see the stock short hood latch and release mechanism is retained. While this is not authentic to a true longhood, it suits my hotrod tendencies just fine. Plus, I plan on heavily modifying the front latch panel any way for a front mount oil cooler. So even if I did take the time to install an earlier latch panel it wouldn’t be authentic anymore anyway.
Dealing With The Hood Seal
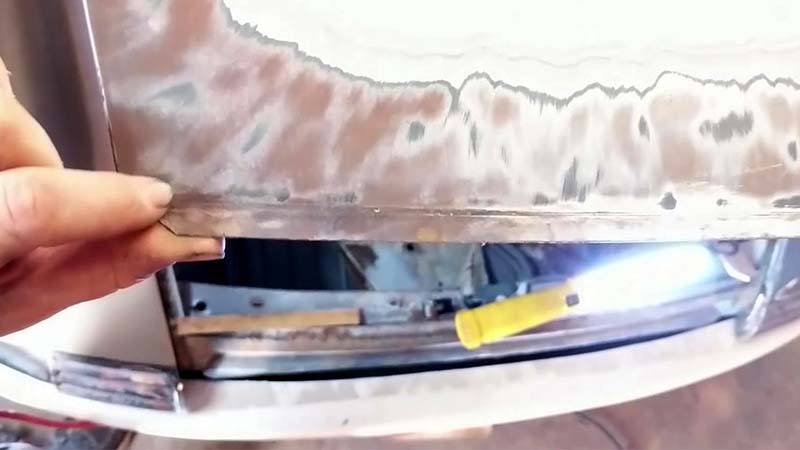
A small gap between the 1974 and later latch panel and the fiberglass bumper exists when the hood is open, so I decided to add a custom sheet metal strip that retains the earlier model hood seal.
The last thing I want is this car to look like a thrown together kit car. While it may not be obvious in the photos below, this seal channel is quite difficult to form.
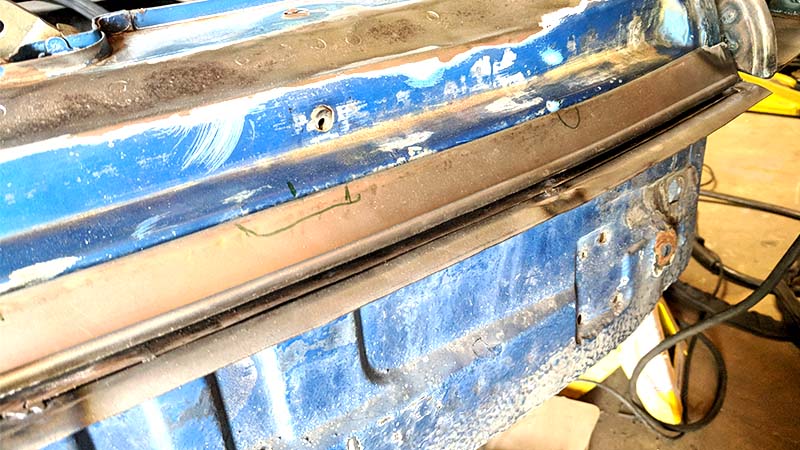
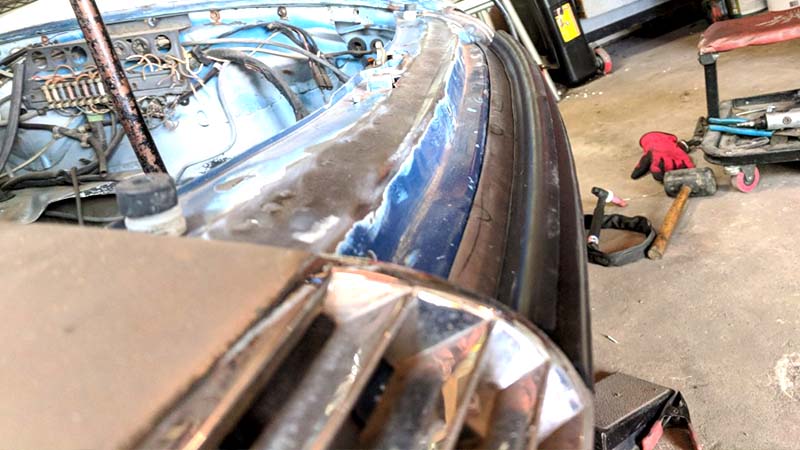
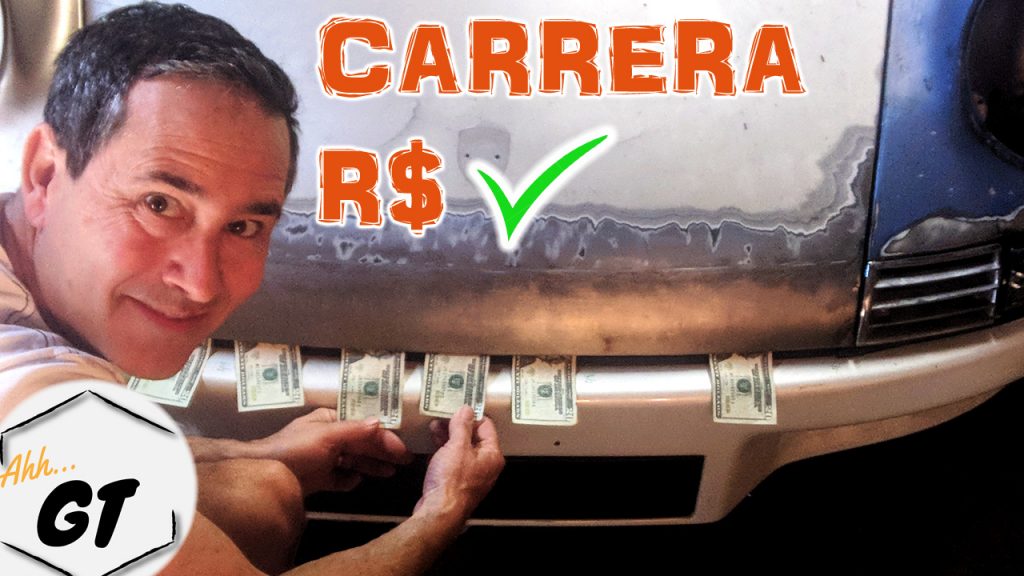
This new seal is flush with the fiberglass RS bumper so no “day light” shines through the gap. Here I am checking the tension on the seal with paper money!
Latch Modifications Needed
While the stock 1974 and later latch system will work fine, it’s a little hard to reach in there to release the hood. Now, my plan is to change the spring and catch height so that there is a little more space for my hand to get in there. Similarly, I will also add a tap on the latch to bring the release lever a bit closer to the front opening.
Porsche 911 Longhood Conversion Video
Thanks for watching the video. The video describes more detail and visual tips and tricks to backdate your car without breaking the bank.
Please subscribe to my YouTube channel by clicking here.
